
So first off you're gonna need the basics:
-Tulle (if you're doing one color I recommend 2-3 rolls depending on your model. if bigger than a toddler i would say 4. and if you are doing two or more colors i would say anywhere between 4-5. don't open them all because if you end up not using that many you can always take them back! i used 5 rolls on mine.)
-Elastic (1/2 in works best)
-Scissors (fabric or rotary)
-Needle and thread or sewing machine
The tulle, elastic and scissors I got at Wal-Mart for cheap! The tulle cost me 2.97 per roll, the elastic was like a 1.98 or so and the scissors were 3.00. The sewing part my mom did for me because she had a sewing machine.
The first thing you are gonna do is measure your model's waist. Then cut off 2-3 inches from that. So say the waist size is 20" you're going to cut it down to 17" or 18". I know this seems drastic but the elastic will stretch.
Then you will cut your tulle which if you use the rolls from Wal-Mart just measure out 20" and cut. You can do longer if you are working with an older model. I used 20" on mine for Adylee and it is perfect. I may end up cutting them a little shorter just cause some end up in her face when she sits down.
After all that, you will sew the elastic together. It'll look like the bottom picture.

From there you will need to find a cylinder or a hanger to hold your elastic while you add your tulle. Don't go for anything too large or it will stretch it even more. I did this with my first one and ended up having to cut it at the end to fit my daughter.
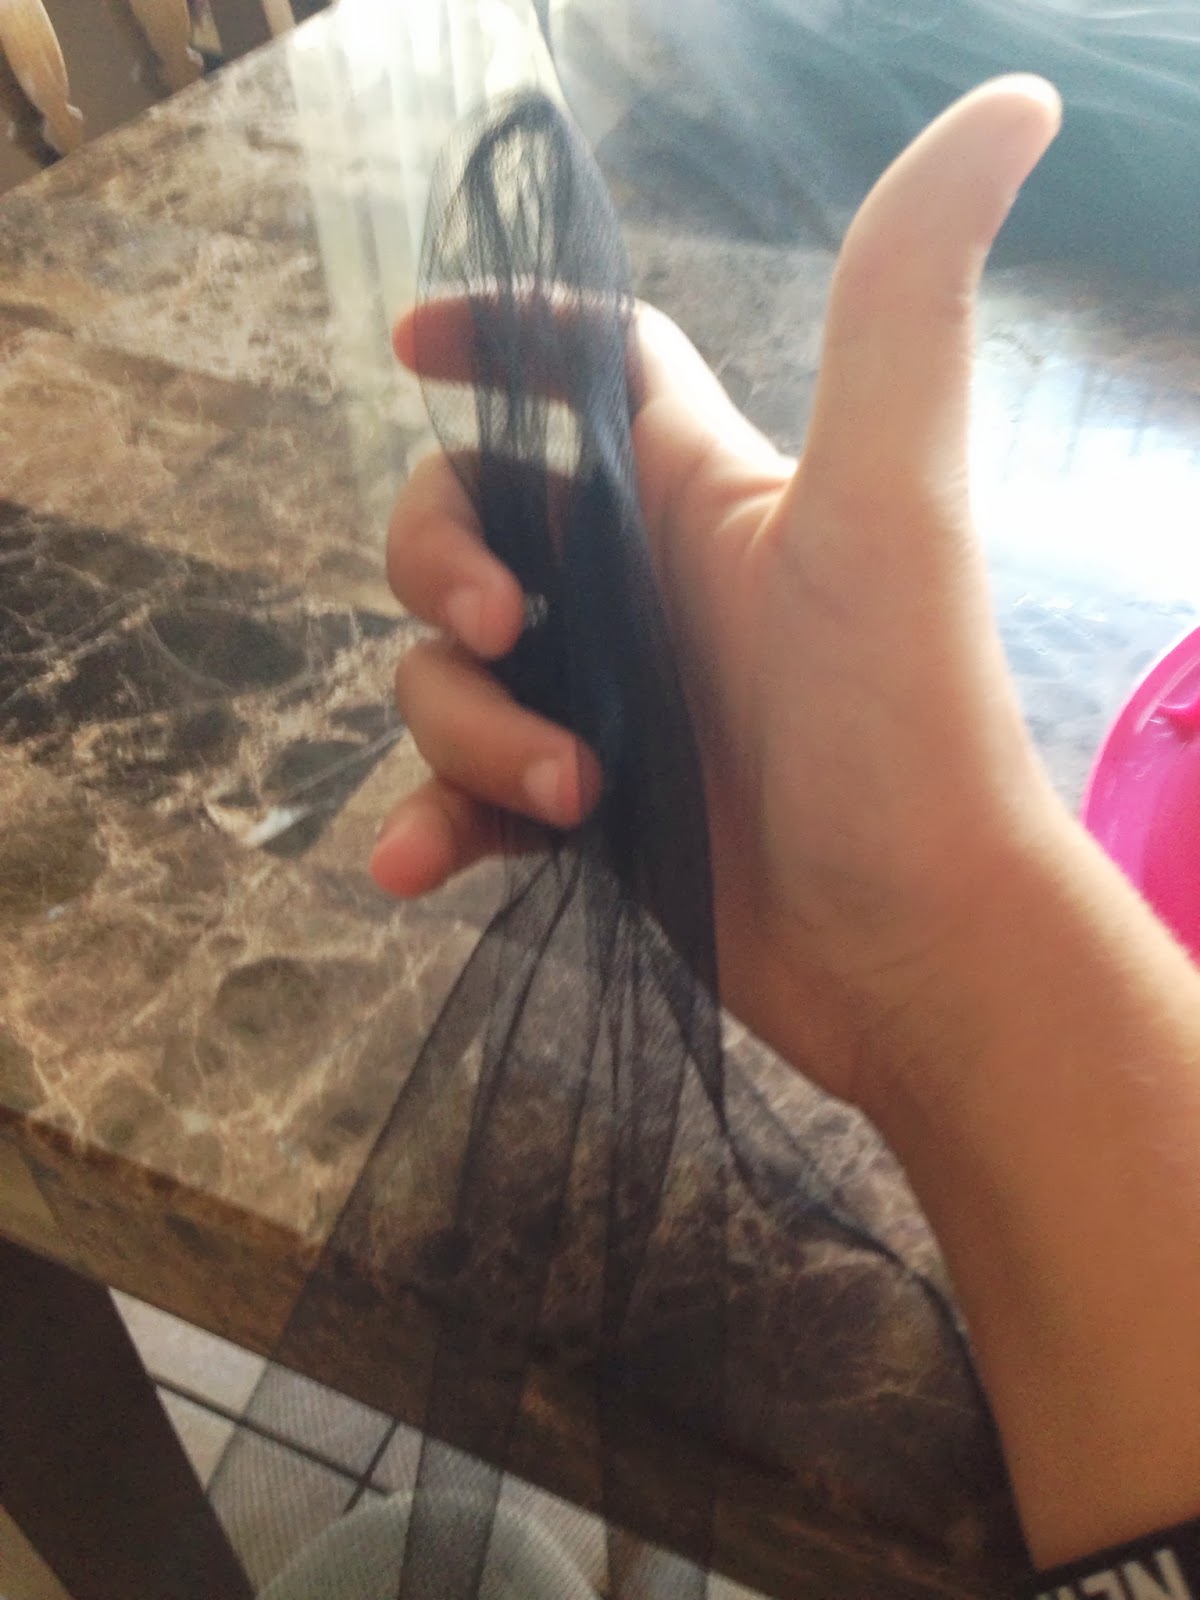
Once you get it all situated on a cylinder you're going to take your tulle and fold it in half like so:
After that you are going to take it and put it underneath the elastic.

You will then take the bottom part of the tulle and bunch it together in order to bring it through the top, like so:

Once you pull it through you will then pull it tight. Not TOO tight but tight enough so that it is secure. Once you do a couple you will understand what I mean. It's kinda hard to explain in words lol.


Continue doing this until you reach the end. If you want a real fluffy tutu like I made then you're gonna have to push them all together real tight which will reveal some more elastic so just keep adding tulle. Once you reach where you sewed it you will want to

Once you have finished up using all your tulle you can add a flower or bow to where you sewed it together because it's going to be pretty hard to add tulle to that piece since it sticks out so funky. I have not done that with mine yet since it if for Adylee's first birthday so I have some time. But here is the finished product:

I ended up having to go get more tulle because I ran out and they didn't have the same pink anymore so I had to go through and add in a darker pink but it ended up coming out pretty good for my first tutu.
No comments:
Post a Comment